 PowerupStack
You can move a singleplayer save or a world from another Minecraft Java server to your PowerupStack server. Prepare the complete world, upload it as a ZIP file, and make sure the server is configured to load the extracted folder.
Prepare the world
From a singleplayer game
Singleplayer worlds are stored in the Minecraft saves folder:
- Windows:
%appdata%.minecraft\saves - macOS:
~/Library/Application Support/minecraft/saves - Linux:
~/.minecraft/saves
You can also open the folder from Minecraft:
- Open Singleplayer.
- Select the world you want to upload.
- Click Edit.
- Click Open World Folder.
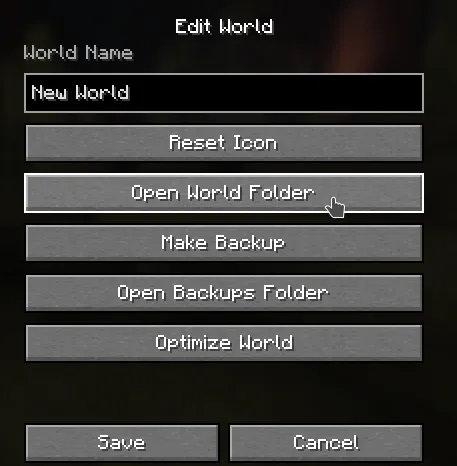
The button opens the selected world's folder. Return to the title screen or close Minecraft so that all world data is
saved, then move up to the saves folder before creating the ZIP. This lets you archive the complete world folder
instead of only the files inside it.
From an existing server
Stop the source server, then download its complete world folder. If you are moving between PowerupStack instances, you can download all instance files and extract the required world folders on your device. If you also need the source server's plugins, mods, and configuration, transfer the complete instance archive instead of following this world-only procedure.
The main world folder is normally the value of level-name in the source server's server.properties file. Confirm
that this folder contains level.dat. Some server software and older versions store the Nether and End in separate
folders, commonly <level-name>_nether and <level-name>_the_end; include those folders as well.
For the first start on the destination server, use the same Minecraft version, server software, mod loader, and required mods or world-management plugins as the source. After confirming that the world works, make a new backup before changing versions or server software. Verifying the upload first separates world-transfer problems from compatibility problems.
Create the world ZIP file
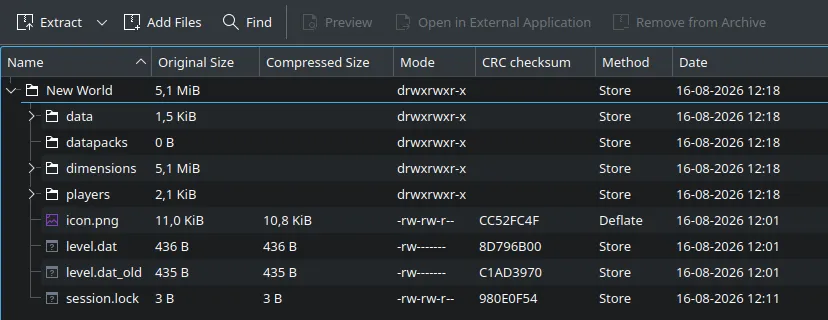
The preferred layout is a ZIP that contains the world folder itself. When you open the archive, you should see a folder
such as New World, and that folder should contain level.dat.
If the source server uses separate dimension folders, place the main world folder and its Nether and End folders at the top level of the same ZIP file.
An archive can instead contain loose world files, with level.dat at the top level. If yours does, create and open a
destination world folder in the PowerupStack file manager, then upload and decompress the ZIP inside that folder. Do not
extract loose world files into the server root.
Upload and select the world
- Stop the destination server and open its Files page.
- Check the current
level-nameinserver.properties. If folders with the same names as the uploaded world or its dimensions already exist, back them up and rename all of them before extracting the upload. Do not merge uploaded and existing world folders. - Click Upload files. Upload the ZIP to the server root if it contains the world folder. If it contains loose world files, first create and open the destination world folder, then upload the ZIP there.
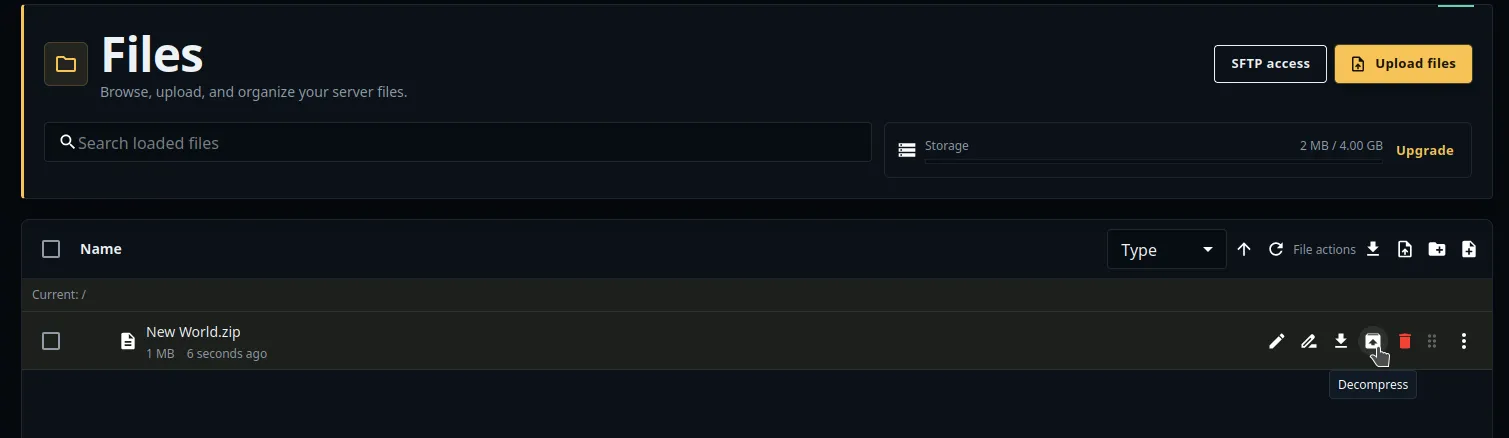
- Right-click the ZIP, or click its three-dot menu, and select Decompress.
- Open the extracted folder and confirm that
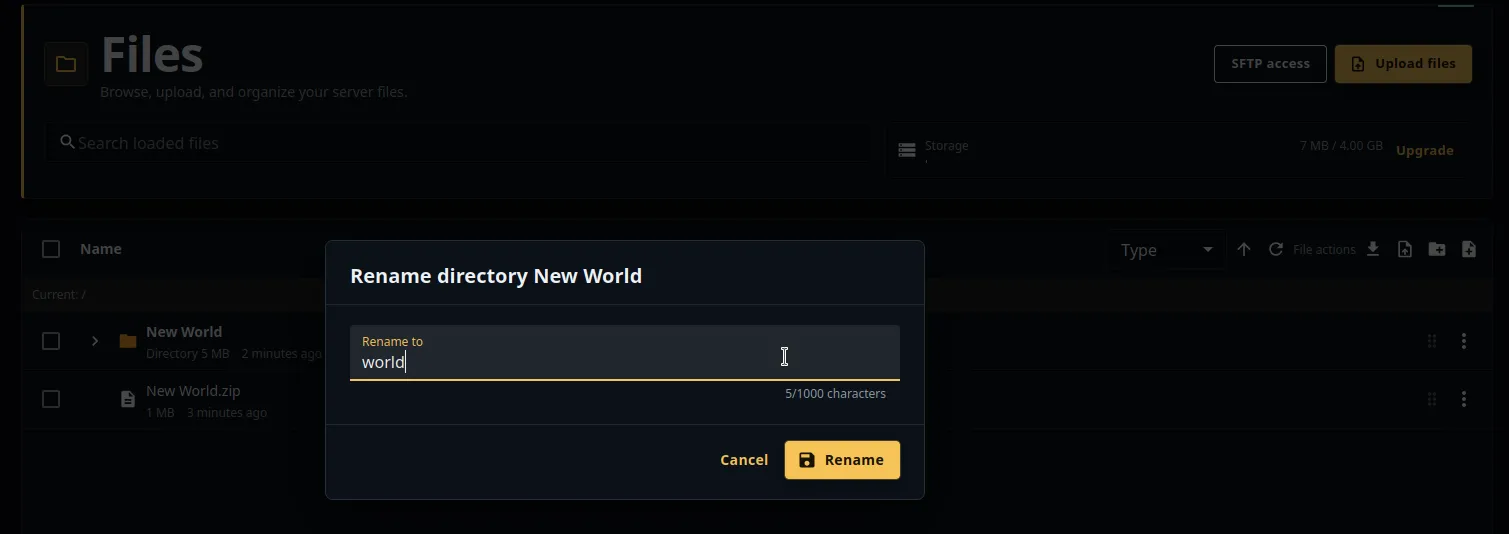
level.datis directly inside it. For example, the correct path isNew World/level.dat, notNew World/New World/level.dat. - Make the extracted folder name match
level-nameinserver.properties. You can rename the folder toworld, which is the default value, or changelevel-nameto the extracted folder's exact name.
- If you uploaded separate dimension folders, preserve their matching names. For example, a main folder named
worldmay be accompanied byworld_netherandworld_the_end. - After confirming that the folders extracted correctly, delete the uploaded ZIP to free its storage space.
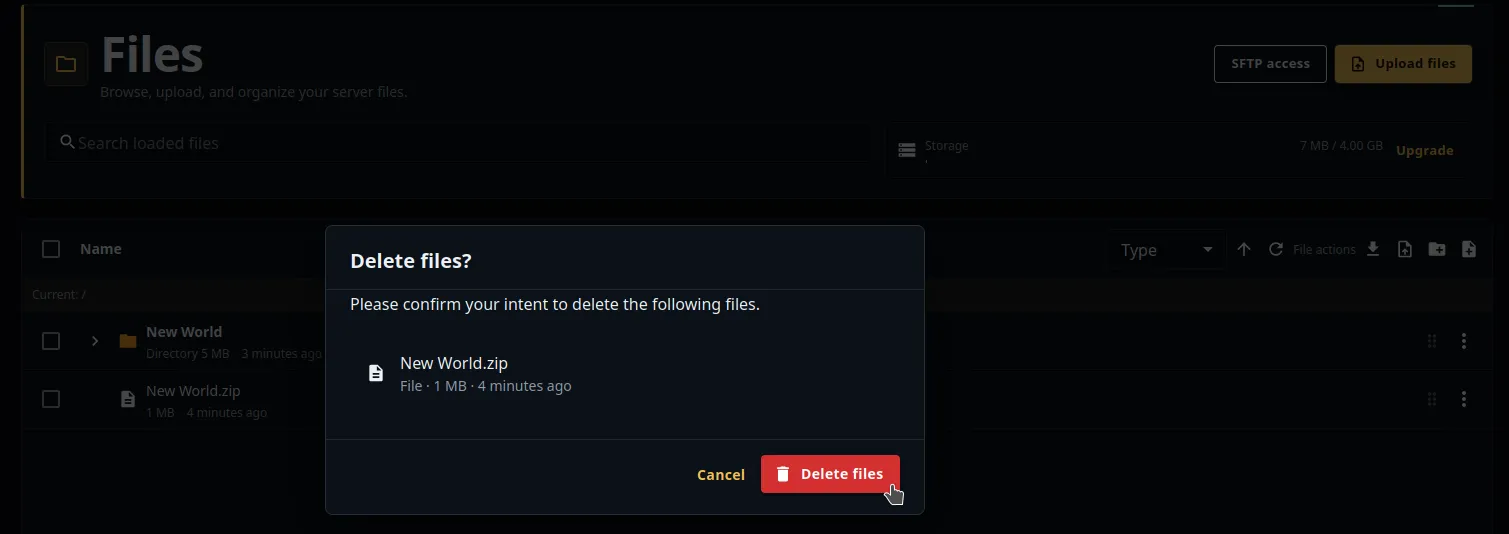
- Start the server and join it. Check important locations in the Overworld, Nether, and End, and confirm that player inventories and Ender Chests are present.
Troubleshooting
The server generated a new world
The server could not find the uploaded world. Stop it and check that:
- The extracted folder name exactly matches
level-nameinserver.properties. level.datis directly inside that folder and not inside an extra nested folder.- You edited the
server.propertiesfile in the server root and restarted the server afterward.
The Nether or End was reset
Stop the server to prevent more chunks from being generated. The source and destination software may use different dimension layouts. Follow the official Paper migration guide when moving to or from Paper, including its separate instructions for legacy versions and other server software.
Player inventories appear to be reset
Minecraft stores player data by UUID. Moving an existing server between different authentication setups, including a
change to online-mode or a proxy configuration, can assign players different UUIDs even though the world itself loaded
correctly. Keep the source authentication setup where possible and review the
online-mode guide. Do not disable authentication solely to recover inventory.
The world does not load
- Do not load a world saved by a newer Minecraft version on an older server version. Restore the backup and use the source version or a supported newer version.
- Install the same mod loader and required mods for a modded world. Missing mod content can prevent the world from loading or remove blocks and entities.
- Install any plugins required for custom dimensions or world generators before starting the uploaded world.
- Check the server console and latest log for the exact world-loading error.